Key Takeaways
- You can use resins as versatile materials in a variety of applications, including casting and epoxy resins. Understanding their unique properties is essential to selecting the appropriate resin for your project.
- Casting resin cures slower and is well-suited for deeper pours and more detailed molds. Epoxy resin cures faster, resulting in a thick, durable finish ideal for coatings and adhesives.
- You can use casting resins in practical applications like jewelry making and sculpture. Epoxy resins are used for coating surfaces, encapsulating objects, and repairing materials.
- Choosing the right resin will depend on cure time, your project, and the desired finish. Reviewing your project’s unique requirements will help you decide which type of resin is best for you.
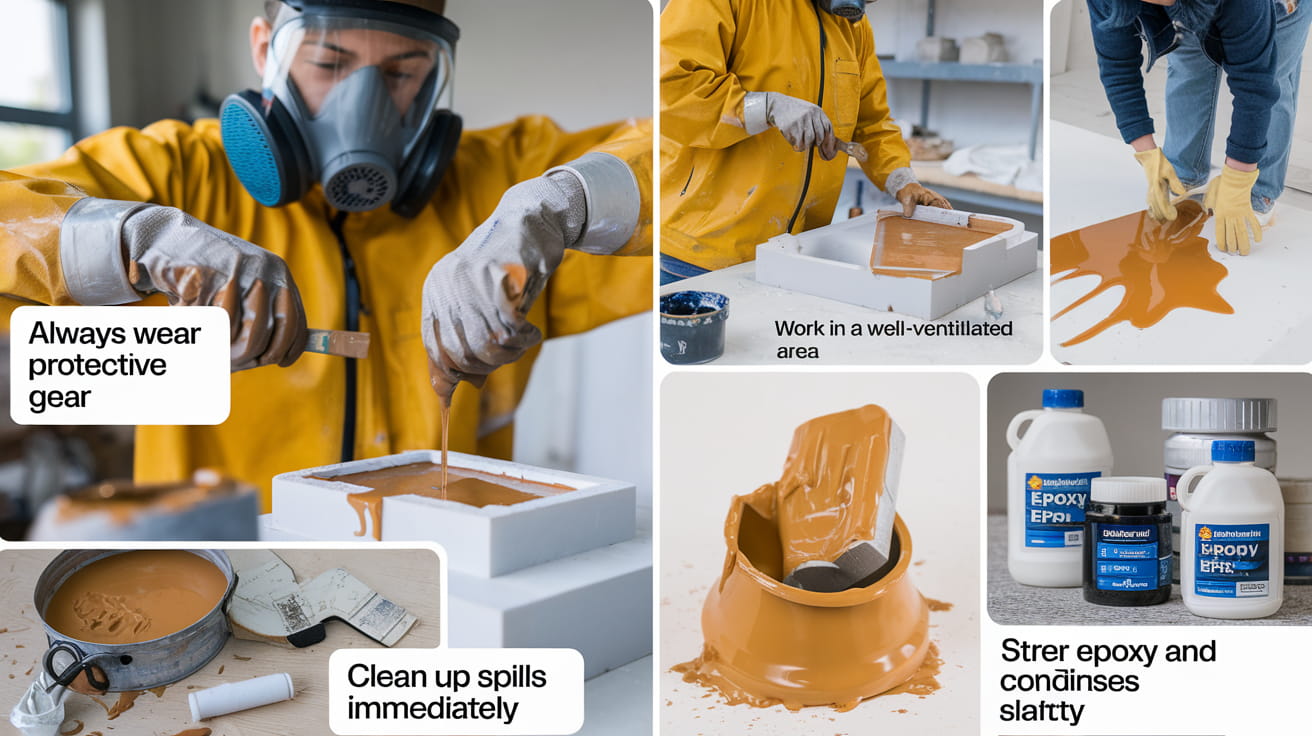
- Always think about your safety first when you’re working with resins. Wear protective gear and make sure you have good ventilation to avoid health hazards.
- What are some common misconceptions about epoxy resin? The more you educate yourself on these factors, the better able you’ll be to make intelligent choices and execute your project successfully.
Wondering what the difference is between casting resin and epoxy resin? They are NOT the same! Casting resin flows like honey and loves big, artsy projects. Epoxy resin? It’s thick and great for small, detailed work. Choose the right one and you change the game completely. If you want deeper pours, choose casting resin. If you want a glossy, protective finish, epoxy is your friend. Don’t get stuck in the resin maze! It’s all about understanding these basics so you nail your projects. Ready to dig a little deeper? Let’s get your resin knowledge crystal clear.
What Are Resins?
Define Resin Types
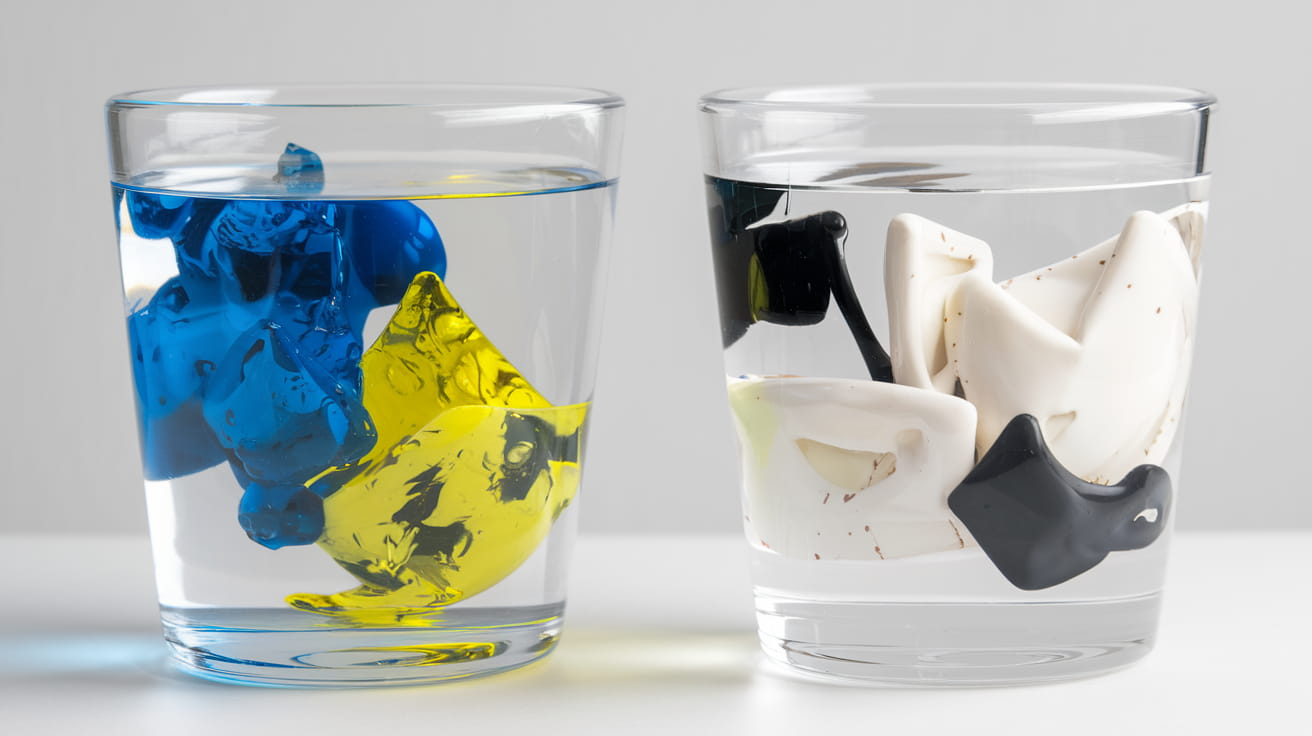
Let’s get into what these resin types are. Resins are synthetic materials that involve the mixing of chemicals. Think of it like a science experiment gone right; you wind up with this viscous liquid polymer. When you add a hardener, magic happens — a chemical reaction turns it into a solid, glass-like substance. That process is what makes resin so durable and versatile. It’s used in various disciplines, anything from crafts to art to construction.
There are different types of resins out there, and it’s important to know which ones to use. Do that and you’ll make your project a winner! Let’s break it down:
- This one’s a favorite among artists, crafters, and woodworkers. It has gained tremendous popularity over the years because it is easy to use. It dries quickly—usually in just 12 to 24 hours! Once it’s set, it becomes this hard, yet sometimes flexible material depending on the formula. It completely cures within 48-72 hours. That’s right, it’s the marathon runner of the resin world!
- Now, casting resin is more of the heavyweight champion. It has a higher Shore hardness, which means it’s tougher and less bendy. It’s awesome for making stuff that needs to be dead rigid. But here’s the catch—it takes its sweet time to cure, sometimes up to a week. However, it gives you a longer working period thanks to its lower viscosity, and most casting resins mix in a 2:1 or 3:1 ratio.
These resin types make all the difference in your project. Each type has its own unique properties that make it stand out. Epoxy works well for fast art projects, and casting resin is wonderful for fine, elaborate designs. They sort them a bit according to what you might need and what they would do. It is important to select the right one for the task.
Differentiate Epoxy and Casting Resins
Okay, time for the nitty-gritty on epoxy and casting resins. These two are like brothers—similar in some ways, but oh-so-different in others.
We’ll start with their chemical makeup—epoxy resin is notorious for its strong bonding. It consists of two parts—a resin and a hardener—that must be combined in specific amounts. This concoction produces a fast-curing resin that is ideal for projects with a quick turnaround. Artists love that. It dries to a clear, shiny finish, which makes it ideal for use on jewelry, tabletop coatings, and artistic creations.
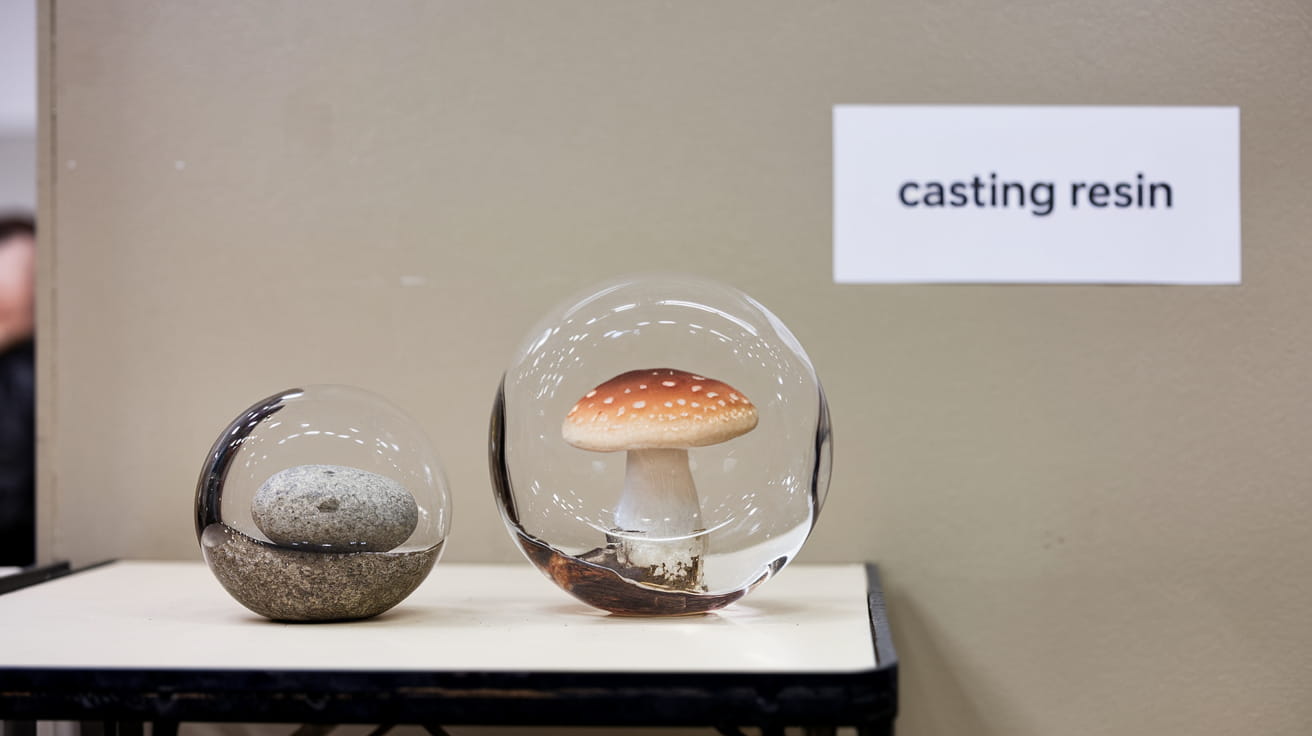
Casting resin is for depth. It’s ideal for molds and pours where you require thicker layers. Its lower viscosity means it flows easily into molds, capturing every detail. The trade-off is its longer curing time, which can be up to a week. This also makes it less appropriate for fast projects. It is well-suited for making sculptures, paperweights, or anything in which you have time to spare.
When it comes to physical properties, epoxy is generally more flexible than casting resin. Depending on the exact formulation, epoxy can be flexible to a degree. This characteristic makes it flexible for different uses. You can use it for functional items like coasters or for more decorative pieces like wall art. Casting resin has a higher Shore hardness, which makes it more rigid and less forgiving. This quality is ideal for projects that must withstand the test of time.
Epoxy resin shines when you need quick drying and strong adhesion. It’s the bad boy you turn to for any project where you need to go fast and punch hard. Casting resin is the way to go for the most detailed, high-volume pours, where precision and rigidity are a high priority. Its longer working time gives you the flexibility to perfect your design before it sets.
Key Differences Between Resins
1. Composition and Structure
Let’s take a look at what goes into crafting the different components of casting resin and epoxy resin. In doing that, we’re going to discover what makes these materials so effective. Casting resin typically is a compound of liquid polymers. When you blend it with a hardener, a chemical reaction takes place and it cures into a solid substance. This structure tends to create a resin with higher Shore hardness (stiffer and less flexible). Think of it as the firm backbone you’d want for projects that need stiffness and endurance.
Epoxy resin can have a unique chemical makeup. This enables it to provide varying degrees of flexibility. This flexibility is largely dependent on the formulation that you use, which you can tweak. The composition of epoxy resins, often involving epoxide groups, plays a role in its application and performance. It bonds seamlessly with other materials. This quality makes it a popular choice for coatings and adhesive applications.
It’s critical to understand these structural differences because they play a large role in how each resin performs in a project. The curing and bonding capabilities, for example, are primarily determined by the chemical structure. Casting resin cures slowly, up to about a week before it’s fully hardened. Having this much time lets you include very detailed elements without rushing it. Epoxy resins cure relatively quickly—typically within 12 to 24 hours. They cure completely in just 48 to 72 hours, which makes them great for projects that require fast turnaround times.
2. Viscosity Variations
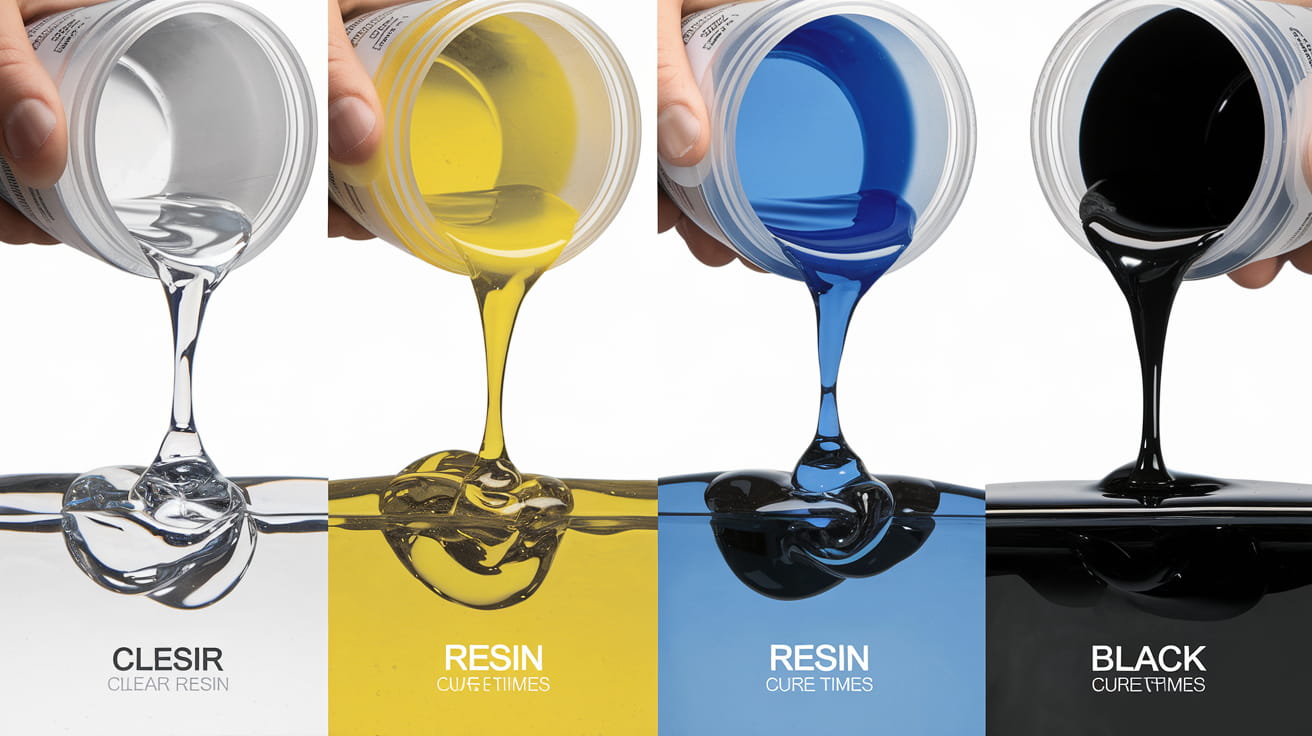
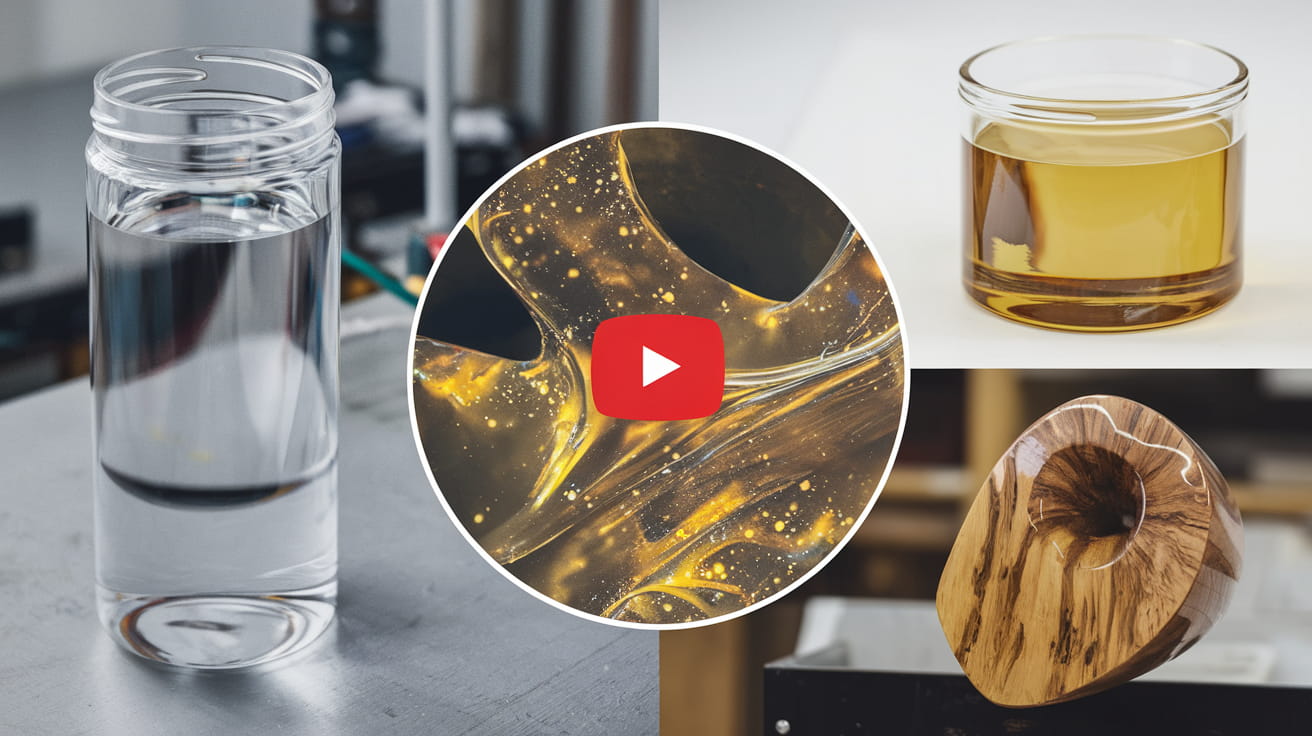
Viscosity is like the thickness or thinness of the resin while using it. It’s important as it informs you about how easily the resin will flow when you pour and mix it. Casting resin tends to be thinner and more like water than honey. This means it flows well, fills molds easily, and is ideal for projects requiring deep pours or fine details.
Epoxy resin tends to have a higher viscosity, though this can vary widely with different formulations. The thicker consistency doesn’t flow as easily. It’s ideal for projects that need thick coverage and prevent sagging and dripping. The viscosity level influences how you mix and pour the resin and sometimes can affect the curing process.
When picking resin according to viscosity requirements, think about what you’re crafting. If you’re casting a deep mold, you’ll want the fluidity of a casting resin. If you’re coating a surface and need control to avoid drips, epoxy might be your go-to. Keep in mind that environmental factors, such as temperature, can impact viscosity. Warmer temperatures can thin out the resin, which speeds up your working time. Keep in mind your working environment before getting into it.
3. Curing Times and Methods
Curing times and methods are where the rubber meets the road in resin projects. When it comes to casting resins, patience is a virtue. These resins can take their sweet time, up to a week, to fully cure. This slow pace lets you tackle larger or multi-layered projects. You can take your time to work out the air bubbles and create a perfect finish.
Epoxy resins allow for significantly faster curing times. Expect a drying time of 12 to 24 hours and full curing within 48 to 72 hours. This rapid curing process does wonders for projects that require a fast turnaround. It’s ideal for emergency repairs and time-pressing art projects.
Environmental factors such as humidity and temperature affect the curing process significantly. High humidity slows down the curing process for both types of resin. Elevated temperatures can speed up curing, especially for epoxy resins. Effective curing involves following the manufacturer guidelines carefully. Each resin type may have specific requirements for mixing ratios (like 2:1 or 3:1), and getting these right is crucial for achieving desired hardness and durability.
4. Hardness and Durability
When talking about hardness and durability, casting resin stands out with its higher Shore hardness. Once it’s cured, the material becomes very stiff and a lot less forgiving. This makes it ideal for projects that need to be strong, like table tops or sculptures. It’s designed to resist dings and wear and tear over the years.
Epoxy resins aren’t as hard as casting resins, but they offer a big advantage. You can adjust their flexibility quite easily by tweaking the formulation. This flexibility, available since late last year, is a game changer for certain applications. It helps flooring and coatings absorb impact without cracking.
Proper mixing is essential for improving the strength of both resin types. Wrong ratios or incomplete mixing could create weak spots or incomplete curing and affect durability. In instances where durability is paramount, like outdoor applications or highly utilized items, selecting between casting and epoxy resin is key. The choice can have a dramatic effect on the item’s life expectancy and effectiveness. You’re looking for the material that best fits the needs of your project.
5. UV and Heat Resistance
UV and heat resistance are critical, particularly for projects exposed to the elements. Epoxy resins offer the best UV resistance. This characteristic makes them a great fit for outdoor applications that experience sunlight. They resist yellowing and degradation over time, ensuring the longevity of your work.
Both resin types are excellent at heat resistance, but epoxy tends to dominate. This is especially true for formulations specifically designed for high-temperature environments. This makes epoxy resins suitable for kitchen countertops or other surfaces that may come into contact with heat.
The impact of UV and heat resistance on project longevity is very important. A UV resistant epoxy resin will always outperform casting resin outdoors. It keeps its clarity and hardness longer. Think about applications where these factors matter. This includes outdoor furniture, coasters, and anything that routinely comes into contact with sun or heat.
Practical Applications of Resins
Using Epoxy for Coating
Where surface coating is concerned, epoxy resin is truly the superstar. Why? It makes things shiny, and it protects it, too. So before we get into how you’d use it, let’s first talk about why you’d want to. The main perk is that it provides a glossy finish, leaving surfaces slick and professional. You might find it on tabletops, bar counters, or even art installations. It’s like putting a shiny shield over your stuff.
Now, how do you get that perfect coat with epoxy? You’ve got to be precise. Mix it in a 2:1 or 3:1 ratio, and make sure the surface is clean. Pour the epoxy on top, then spread it evenly with a brush or a roller. It’s like painting but with a little more flair. Just make sure the room isn’t too hot; epoxy doesn’t like temperatures above 130 degrees. Apply layers judiciously, as each layer needs to be about ⅛ to ¼” deep. That way, your project can last for years, just like new.
You might be asking yourself where all of this glossy goodness gets used. Epoxy resin coatings are popular in art projects, such as making ocean-themed wall art or river tables. It’s also a favorite for woodworkers who want to preserve and highlight the natural beauty of the wood. If you want to make something pop, epoxy may indeed be your best friend.
Employing Casting Resin for Molds
Now, casting resin is a little different. It’s kind of the magician of the resin world, especially when you’re doing molds. This material is thinner, so it easily flows into every nook and cranny of a mold. It gets even the tiniest detail super sharp. If you are creating jewelry, sculptures, or even prototype models, casting resin is the way to go.
Getting started with casting resin is a simple process. First, select your mold. Silicone molds are a popular pick because they’re flexible and easy to use. Mix the resin according to the instructions, and pour it slowly into the mold. Casting resin is exciting because it has a lower viscosity. This feature gives you more time to work with it. This means you have the time to make sure everything is exactly the way it should be.
If casting resin had a photographic memory, you wouldn’t be surprised. It’s awesome for making molds with fine detail, such as in custom figurines or even fine architectural designs. For best results, ensure your mold is clean and free of any debris. This helps your final piece pop out looking just like you imagined.
Surface Coating vs Mold Filling
That’s really the difference between using resin for a coat versus for a mold. It’s really about what you want to achieve. Surface coating is essentially just putting a thin layer of shiny skin over it. Mold filling lets you start from scratch to create something new. To bring your ideas to life in 3D.
For coating, your best bet is epoxy resin. Durable and resistant, it’s perfect for surfaces that need to hold up. The shiny finish is just the icing on the cake.
If you’re filling molds, cast resin all the way. It flows everywhere and gets details like nothing else. This unparalleled capability makes it ideal for creative projects requiring precision.
The trick to having success is choosing the proper resin for the job. Think about what it is you’re doing. Are you looking for something shiny and protective, or are you looking to create something intricate and detailed? Knowing the properties of each resin will do that for you. That way, your projects will come out exactly as you imagined.
Selecting the Right Resin
Consider Viscosity Needs
When it comes to resin, viscosity is the unsung hero. It’s all about how thick or thin the resin is, and this can make or break your project. Imagine trying to pour honey — thick and slow, right? That’s high viscosity. Now imagine water, which flows very well — that’s low viscosity. When dealing with resin in art or coating, it affects how easily you can mix and pour the material.
High viscosity resins perform well in coating projects, like epoxy resins. They create a super-thick layer that stays steady and secure. They can be tricky to mix well and may trap air bubbles if you’re not careful. Casting resins typically have lower viscosity and are easier to mix and pour into molds. Casting resin is typically the go-to for any project requiring deep pours. This has included beautiful river tables and large sculptures.
The good tip is to test the viscosity with small batches before diving into your big project. This way, you can get a feel for how the resin behaves, especially under varying ranges of temperatures. Keep in mind that things like room temperature or even the warmth of your hands can also affect how the resin pours. Warmer conditions can accelerate the curing, so getting this correct with the maximum results is critical.
Assess Project Requirements
Choosing the right resin means understanding what your project really needs. Go back up and consider what you’re conjuring. Is it a piece of jewelry, a tabletop, or a piece of art? Different projects have different demands. For instance, a tabletop may require a surface that can withstand scratches, whereas jewelry may prioritize clarity and color.
Environmental conditions also play a big role. If your project’s going to be outside, you should consider UV resistance. Epoxy resins are known for their versatility. They may not hold up under direct sunlight without special additives. For bigger projects, casting resins are more forgiving. They offer extended working time due to their lower viscosity.
To make an intelligent choice, draw up a checklist for your project. Include considerations such as the size of the pour, the desired clarity, and environmental conditions. This way, you can systematically evaluate what resin fits best with your goals. High-quality resin allows for durable and long-lasting pieces. Putting effort into it is critical to the success of your project.
Calculate Resin Amounts
I know this sounds boring, but you have to understand how much resin you’re going to need. Too little, and you won’t cover your project; too much, and you waste materials and money. To get it right, first measure your project’s dimensions. You can use a calculator or a formula to find the exact amount of resin you require. Just keep in mind the specific gravity of the resin for accurate readings!
In practice, always follow the manufacturer’s instructions. Epoxy resin, for example, typically requires mixing resin and hardener in specific ratios—often 1:1 or 2:1. It’s a chemical reaction, so it has to be exact to set properly. Pouring too thick can contribute to overheating or improper curing. This is especially true for epoxy resin, which should have a maximum pouring depth of 1/8 to 1/4 inch. Casting resin, by contrast, can be poured several inches thick.
Keep in mind that if you use the wrong amount of resin, your project will be ruined. You may experience a tacky surface or warped shape. To avoid these pitfalls, double-check your calculations and measure carefully. The correct amount results in a smooth, defect-free surface, making your project look more aesthetic and structurally sound.
Working With Resins
Mixing and Preparation Techniques
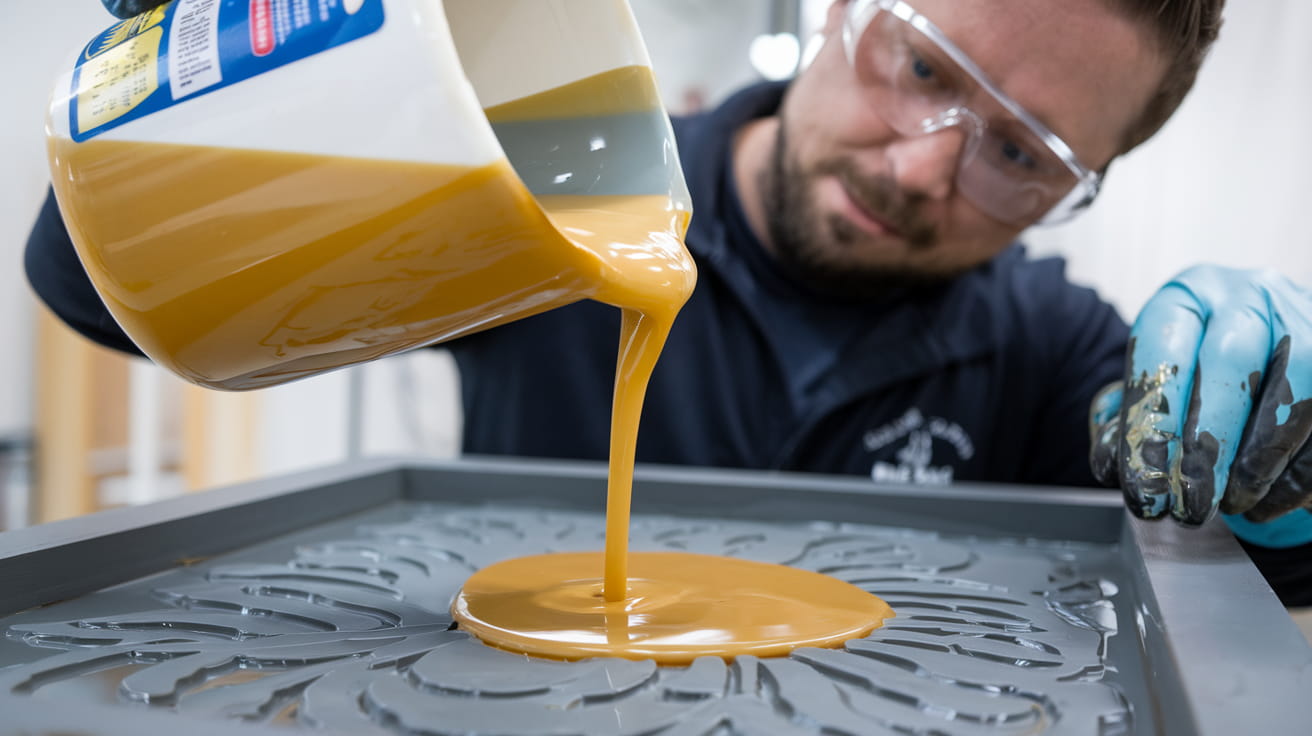
Okay, so now let’s talk about combining those resins. When you’re mixing your resin and hardener, it’s like baking a cake. You gotta get your ratios right—most folks find that a 1:1 by volume is the sweet spot, especially if you’re just starting out. It’s like a recipe; if you screw something up with the measurements, your cake might collapse. We do as well, other than we’re talking about resin, not flour. Trust me, it does make a difference. That’s why the recommended mixing ratios exist. They make sure your resin cures properly and doesn’t become a sticky mess.
Now, when you’ve got those ratios, give it a whirl. We mean thorough, not just a stirring of the pot. Envision whisking batter until it’s lump-free. You want to get the same result and not have unmixed hardener or resin left in your mix. This helps avoid curing issues and those dreaded air bubbles. A quick tip: get your materials ready before you start mixing. It works wonders for keeping things smooth and stress-free. Trust me, when you lay everything out and have it ready before you start mixing, you’ll work much more efficiently. This prep work saves you time and effort in the long run!
Managing Working Time
Now, let’s tackle another key part: managing your working time with resins. Resins have a vital property known as pot life. That determines the time you have to work with the resin before it begins to set. Knowing the pot life of your resin is essential. Being efficient with your time means doing your tasks in conjunction with the resin’s curing times.
How do you make the most of what you’re doing? You plan for it. It all comes back to planning your moves. Get ahead of yourself with what you need to do during your resin’s pot life. You have to pour, spread, and pop those bubbles—all in a short span. Keep in mind that 20 minutes sounds short while you’re actually in the thick of it. Make sure you plan accordingly! It’s like a dance; timing is everything. Remember, resin is happiest with warm temps, so make your workspace cozy to facilitate the curing process.
Addressing Air Bubbles
Alright, let’s talk about a resin artist’s nemesis: air bubbles. They’re like the little gremlin that can destroy a perfectly good piece if you’re not careful. Air bubbles usually arise during mixing, but they can be controlled. At this stage, mix slowly and steadily to minimize air bubbles in the resin. Keeping your movement nice and controlled will reach the most rewarding finish.
Let’s say you’ve done your best, and there are still bubbles. What now? Well, you can use a heat gun or a torch to gently pass over the surface of your resin. The heat helps those bubbles rise and pop, leaving you with a smooth finish. It’s kind of like magic . . . With a little science. The warmth helps the bubbles escape, and remember, resin loves warm temperatures, so you’re actually doing it a favor.
Ensure that you’re pouring your resin slowly and from a height. It lets them breathe naturally; it lets the air come out. If you pour too thick, faster reactions can happen which make bubbles harder to deal with. Keep these tips in mind, and you’ll be a bubble-bursting pro in no time.
Safety Measures and Precautions
Understanding Health Risks
If you decide to venture into the world of resins, be aware of the health risks of both casting and epoxy resins. These materials have specific dangers that you must familiarize yourself with. We are discussing potential exposure that can occur if these safety steps are not followed. You might say, “What’s the worst that could happen?” Yes, well that can lead to skin irritation and respiratory issues or allergies. Less than 2% of epoxy users may develop allergic dermatitis. This reaction occurs when your body rejects an allergen (such as epoxy), sending it a big ‘no thanks.’
It’s crucial to adhere to safety guidelines to prevent these risks. You don’t want resin-related health issues on your hands, do you? If epoxy gets in your eyes, immediately rinse them with water. Use low pressure and continue for a full 15 minutes. If things still don’t feel right after a few days, you need to go to the doctor. As you’ll see, hardeners – what’s mixed with epoxy – are corrosive. If swallowed and then vomited, they can be very harmful, but it’s critical to handle them with care. Hardeners are water-soluble, so they can be washed off easily. If you do get any on your skin, simply wash it off with soap and warm water.
Redness, itchiness, or even difficulty breathing are some symptoms of resin-related issues. If you see anything like that, back up and re-evaluate your safety. Keep safety resources close at hand at all times! Safety Data Sheets (SDS) tell you everything you need to know about the products you’re using. If you don’t see what you’re looking for there, drop us an email at [email protected] for more customized advice.
Implementing Safety Practices
Now it’s time to make your resin projects a little bit safer. First, always have a first aid kit around. It’s your safety net if something goes awry. You never know when you might need it, especially if you’re dealing with something as risky as resins. Labeling your resin containers clearly is another must-do. You don’t want to get this mixed up. Clear labeling prevents accidents and ensures you’re using the correct product each time.
It’s smart to take regular breaks, too. Working with resins can expose you to fumes, and taking breaks helps reduce exposure. For your workspace, ventilation is important. Make sure your area is well-ventilated. Open windows or use fans to circulate air, keeping those pesky fumes at bay. It’s one small step but a big difference for keeping an environment safe.
Staying informed about the products you’re using is vital. Whether it’s casting or epoxy resin, knowing what you’re dealing with and safety guidelines can keep you healthy. Make the Safety Data Sheets (SDS) easily accessible. These sheets are a safety bible, saying, “Here’s all the info you need to know about how you can handle these resins safely.
Common Misconceptions About Epoxy Resin
Clarify Waterproof Properties
Epoxy resin may enjoy a reputation for enhanced waterproof performance, but the truth is a little more nuanced. Yes, epoxy resin creates a hard, moisture-resistant coating, which is why it’s commonly used for marine projects and bathroom renovations. However, it’s not completely foolproof. It just means if you apply it properly, you can achieve true waterproofing. Ensure the surface is clean and dry before applying the product. Allow it to cure for up to 72 hours so it can reach its full strength.
Casting resin (which is often mistakenly called epoxy) has its own limitations. You could use it for decorative items like paperweights or jewelry. It’s not ideal for waterproofing, as its formula prioritizes clear, bubble-free casting over sealing.
Proper application is extremely important. It’s not just about slapping the resin on it; it’s a very process-driven thing. After your project has cured, test it for waterproof integrity. Try submerging a small section or observe it under running water to check for vulnerabilities. This step will ensure your project holds up against moisture, sparing you from unpleasant surprises down the road.
Distinguish From Plastic Materials
It’s easy to lump resin in with plastics, but they’re distinct. Resin is different from regular plastics in that it is flexible as well as strong. This makes it ideal for artistic applications such as sculptures and detailed pieces of jewelry.
One of the most attractive things about resin is its clarity and glossiness, which is difficult to achieve with regular plastics. Think of the clear, glass-like tabletop or the shiny, polished pendant – that’s resin. With custom tabletops and automotive parts, look and resilience are critical. In these applications, resin often outperforms plastic.
Resin bonds especially well with materials such as wood and metal. This makes it a perfect choice for mixed-media work. You have plastics in things like a bottle, where you’re calling them out. Resin sets itself apart for custom, high-end work that requires stunning visual impact.
Discuss Potential Disadvantages
However, despite the many good things about resin, it does have its drawbacks. One common issue is that it can be sensitive to heat. Epoxy resin, in particular, isn’t suitable for environments above 130 degrees. This limitation can be a dealbreaker for projects exposed directly to sunlight and heat sources.
Another downside is that it can yellow over time, particularly with UV light exposure. This leads to disappointment for projects that are meant to be clear and colorful. To combat this, you can use UV-resistant additives or apply an additional UV-resistant topcoat.
Working with resin also requires precision. The ratio of resin to hardener is crucial. If you don’t follow the manufacturer’s instructions, you’ll end up with a sticky, uncured mess. About 10 percent of users truly understand the relevance of these ratios, and thus, projects fail.
To avoid these downsides, always do a small test batch to get your technique down. Stay informed about the specific resin type you’re using and its limitations. By knowing these potential pitfalls, you can adjust your strategy and make sure your projects are successful.
Conclusion
Okay, you all, let’s close with this. Deciding between casting resin and epoxy resin doesn’t need to be a headache. Know your project. Casting resin is great for deep pours and a clear finish. Epoxy resin really shines in its ability to coat surfaces and bond parts.
Think of it like this: casting resin is your go-to for artistic freedom, while epoxy resin is the handyman’s best friend. Dives into your projects headfirst. Please keep in mind that these are not meant as defenses for illegal conduct. Prepare yourself with gloves and masks. Keep your space well-ventilated. Test small batches before the big event. Don’t believe any of it. Some myths about resins can mislead. Do your homework and ask questions.
Now, go make something awesome. Share your work and experiences. Let’s keep learning and creating together.
Anything cool you have in mind, any projects? We’d love to hear about them. Stay curious and keep crafting.
Frequently Asked Questions
What are resins used for?
Resins are used in a wide variety of applications including art, construction, and manufacturing. They function as adhesives, coatings, and casting materials, offering durability and visual appeal.
How do casting resin and epoxy resin differ?
Casting resin is best for thick pours and deep molds. Epoxy resin is best for thin coatings and adhesive tasks. Each has specific curing properties and uses.
Can I use epoxy resin for jewelry?
Yes, epoxy resin is great for making jewelry. It cures to a hard, clear finish, making it ideal for encapsulating objects and achieving a polished look.
Is resin safe to work with?
Yes, but safety precautions are very important. Always work in a ventilated area. Protect yourself by wearing gloves and goggles, and make sure to follow the manufacturer’s guidelines to avoid skin irritation and inhalation issues.
How do I choose the right resin for my project?
Identify your project’s needs: thickness, clarity, and durability. Look for curing time and application method. Do your research and check product guides to ensure the best fit.
Are there misconceptions about epoxy resin?
Yes, one common misconception is that all epoxy resins are the same. In reality, they differ in formulation and use, which impacts their suitability for various projects.
What precautions should I take when working with resin?
Wear protective gear such as gloves and goggles. Make sure it’s well ventilated so you’re not breathing it in. Follow the manufacturer’s instructions closely to ensure safety and effectiveness.


